Getting Started
This section will take you through the steps to set up a collaboration between your own tenant and the tenant of your collaboration partner. When you want to register a new collaborating partner, please contact your Customer Success Manager in FutureOn. They will ensure the Collaborator is registered with the correct endpoint.
Creating a collaboration
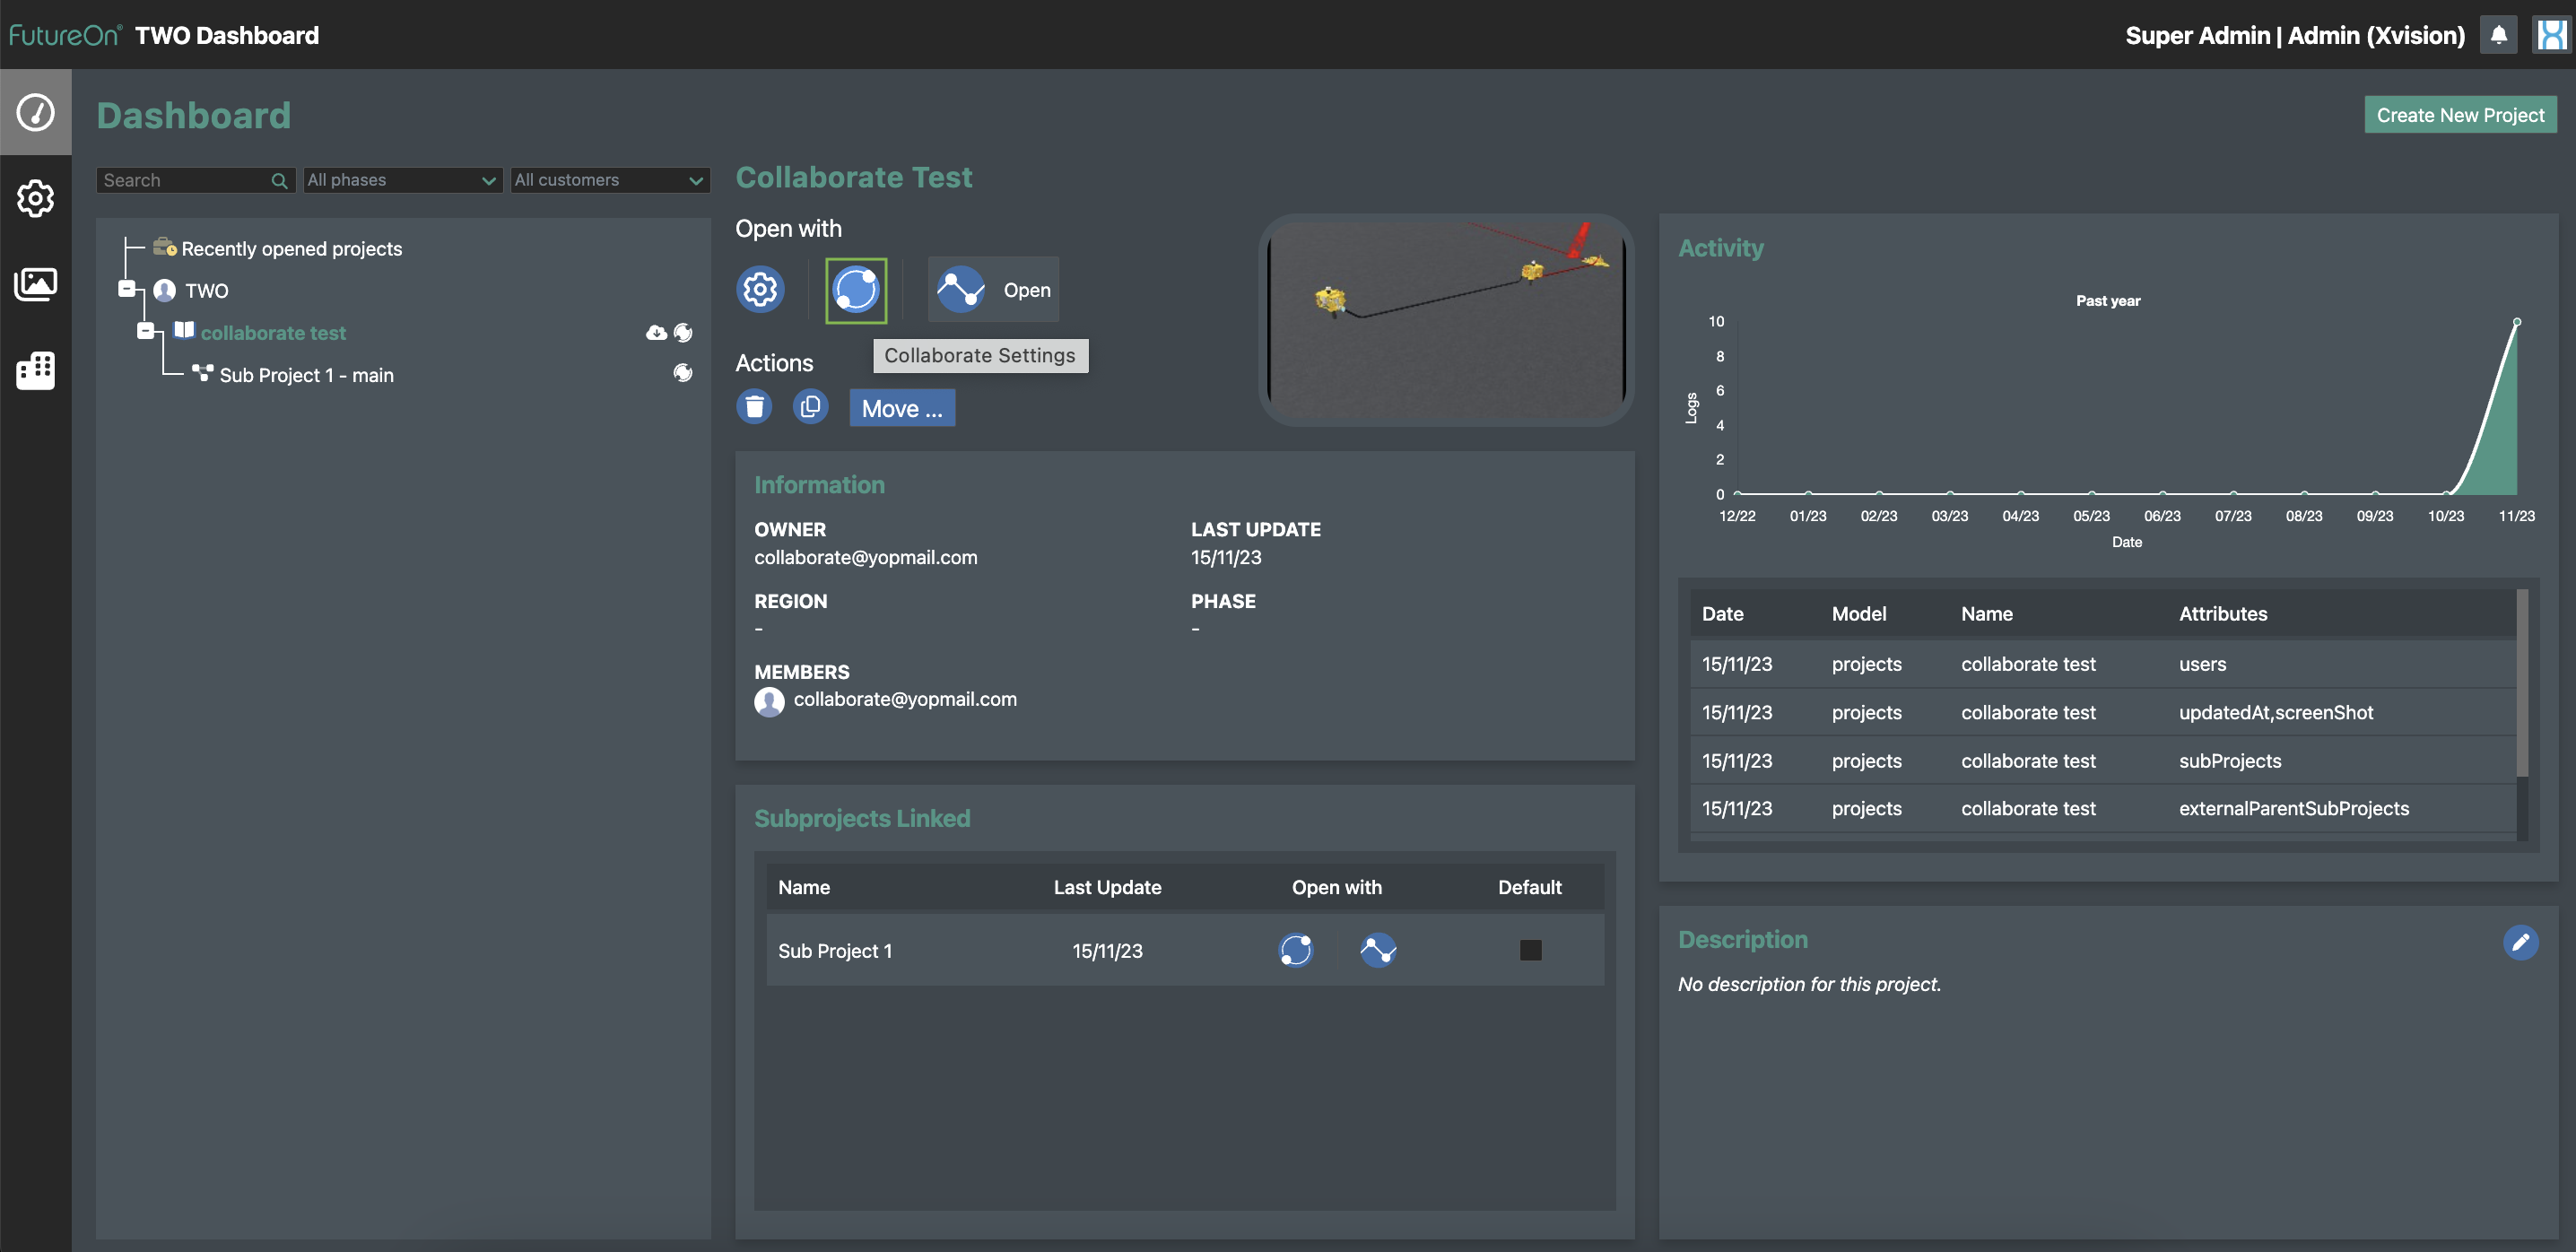
In version 7.1 of FieldTwin the collaborate icon is visible in the dashboard after clicking on the project you wish to collaborate with. The Collaborate icon is now available to the left of the open project button:
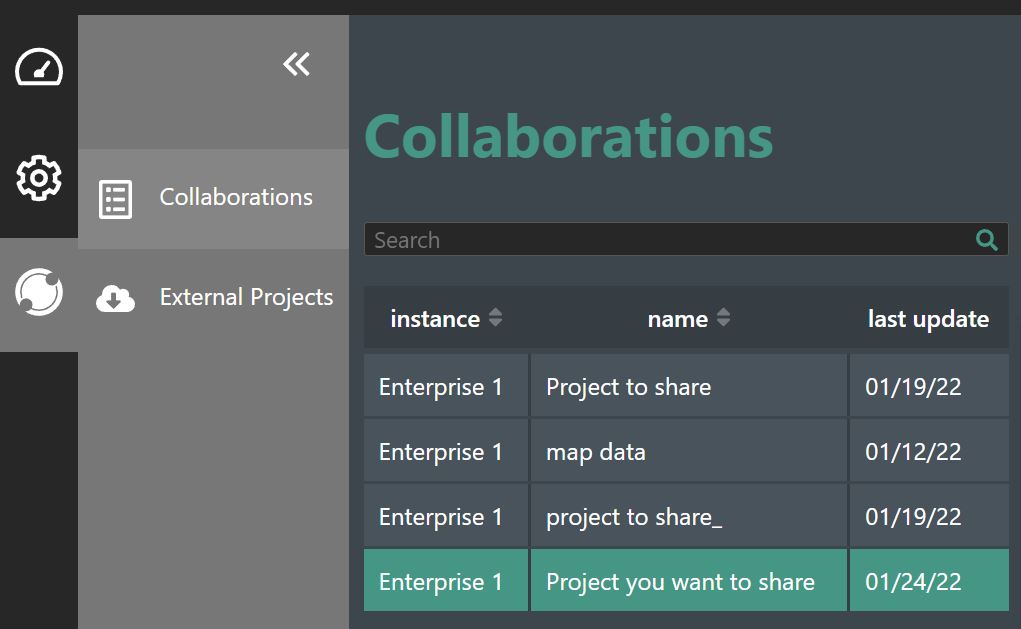
Click on the icon to launch FieldTwin Collaborate. To start a collaboration, select the Collaborations option. This will display a list of your project(s) (Note: Only Projects within an Enterprise License will be listed) .
If you do not have an Enterprise license for your tenant, you will see the following screen:
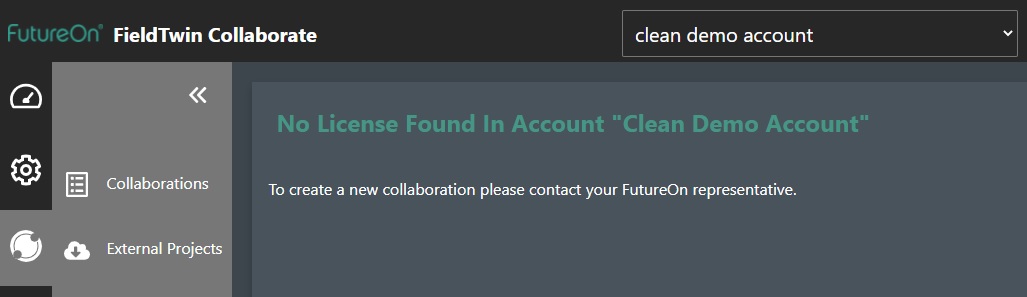
You will then need to contact your Customer Success Manager in FutureOn to be able to proceed.
Project Share
Select the project you want to share from the list:
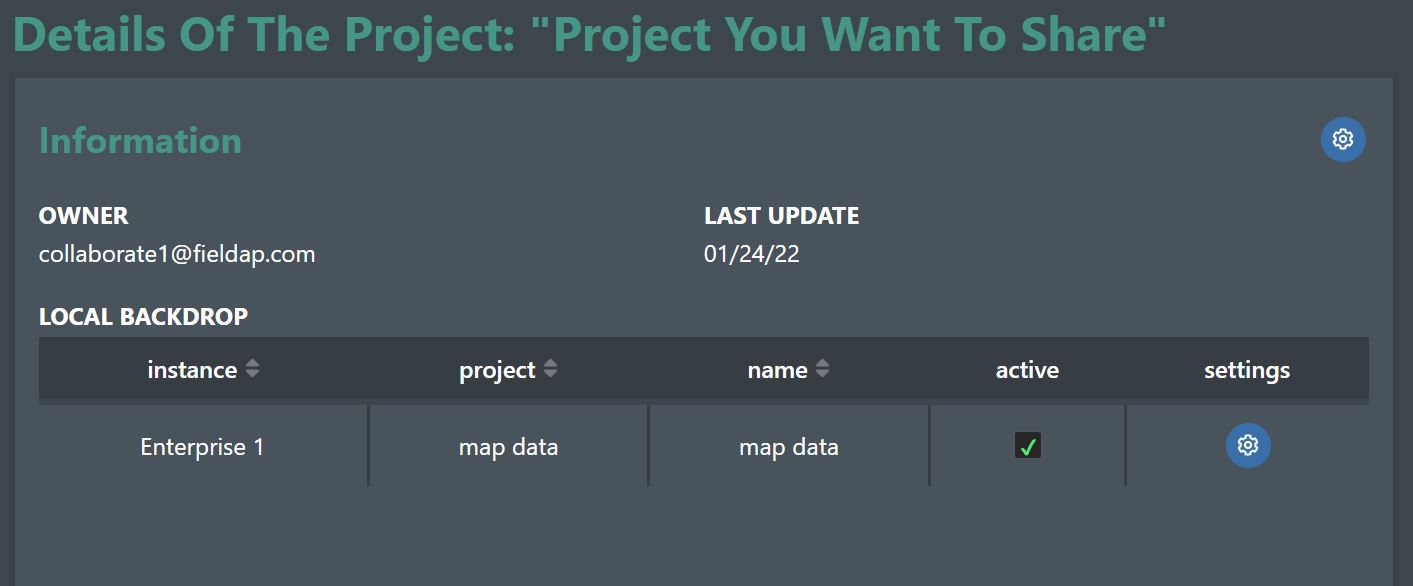
This will show you the information on who owns the project and if there are any Local Backdrop(s) linked to this project.
Local Backdrop - If you want Local Backdrop(s) shared together with the project, then toggle the corresponding Active check box.
External Backdrop - This section will display any External Backdrop(s) linked into this Project (e.g., project shared from an external collaborator back to you).
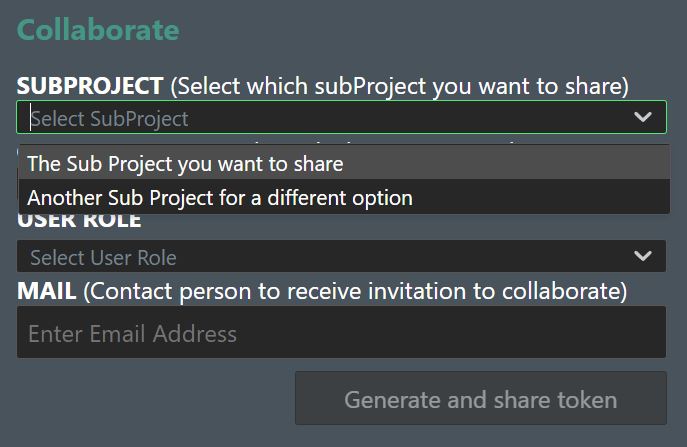
Select Subproject
You will now need to select the subproject from the selected project you would like to share to the external collaborator. The selected subproject will be the only subproject shared in the collaboration. NOTE! If you selected the local backdrop to be shared in the previous step, this sub project will also be shared.
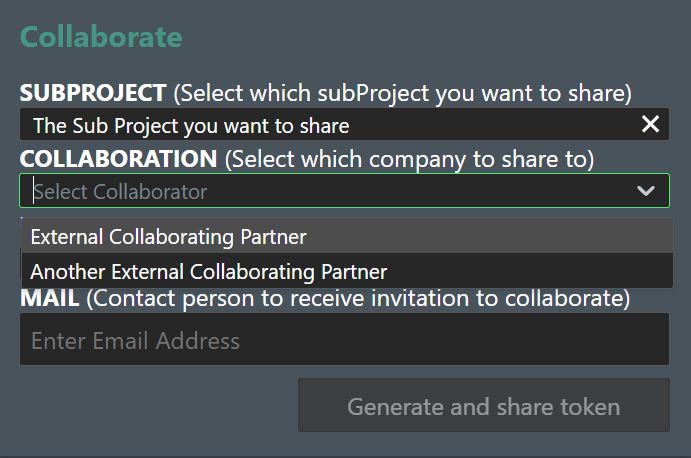
Select Collaboration
Select the company you want to start a collaboration with from the list of registered external collaborators. The selected sub-project will then be shared with them. NOTE! If no list is available, please contact your Customer Success representative as they have to register these for you.
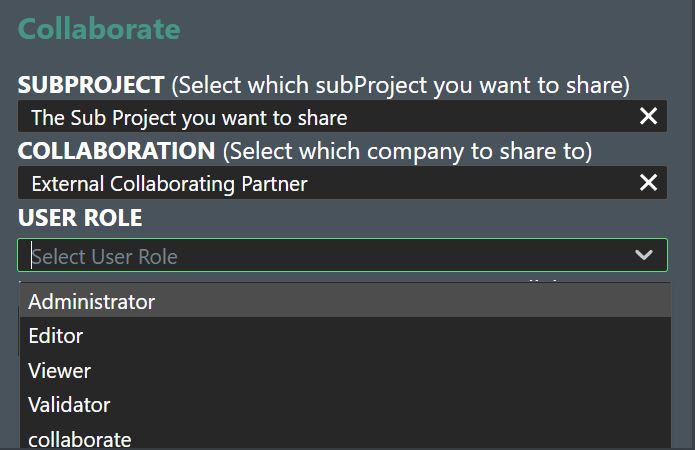
Select User Roles
Select the User Role you want the External Collaborator to have on your shared sub project. You can check the user role by clicking the "i" icon after you have generated the token. You can at any time change the user role during the collaboration, and the change will take effect on the other side the next time they load the project or refresh it.
Mail
In this field you will need to input the corporate email address for the recipient of the collaboration NOTE! This needs to be an Account Administrator in the collaborators tenant.
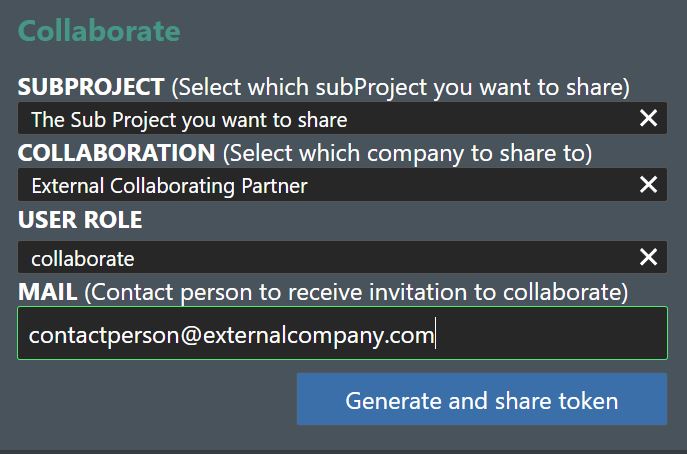
Generate and share
To initiate the collaboration, you will then need to click the Generate and share token button to generate the secure token that will be sent to your external collaborator.

List of collaborations
Once you have initiated one or more active collaborations you will see the list of ongoing collaborations initiated by you in the bottom right part of your screen (NOTE: The Collaboration needs the "is shared" checkbox turned on to share data).
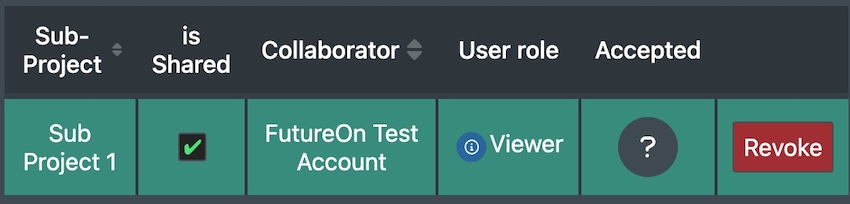
This list allows you to activate/deactivate the sharing session or to delete it.
Active - Activate/Deactivate the project sharing by checking the is shared checkbox.
Revoke - Press this button to delete the ongoing collaboration session of this project.
User Role - Press the blue "i" icon to see the user roles currently active on the shared project.
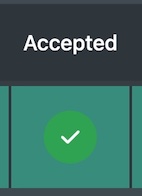
Once the invitation to collaborate is accepted the question mark will turn into a green tick.
Receiving an invite
When someone is inviting you to start a collaboration you will receive an email invitation as shown below:
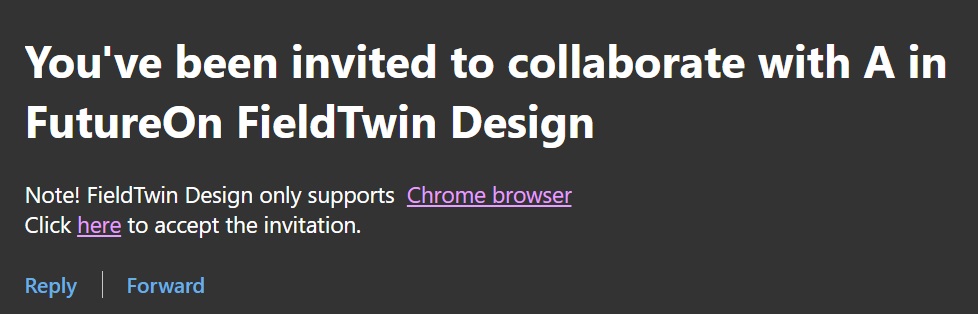
Open the email and click on the here link in the email to accept the invitation to collaborate. Note! We strongly recommend that you verify that this email invitation has been initiated by a trusted collaboration partner before you click it.
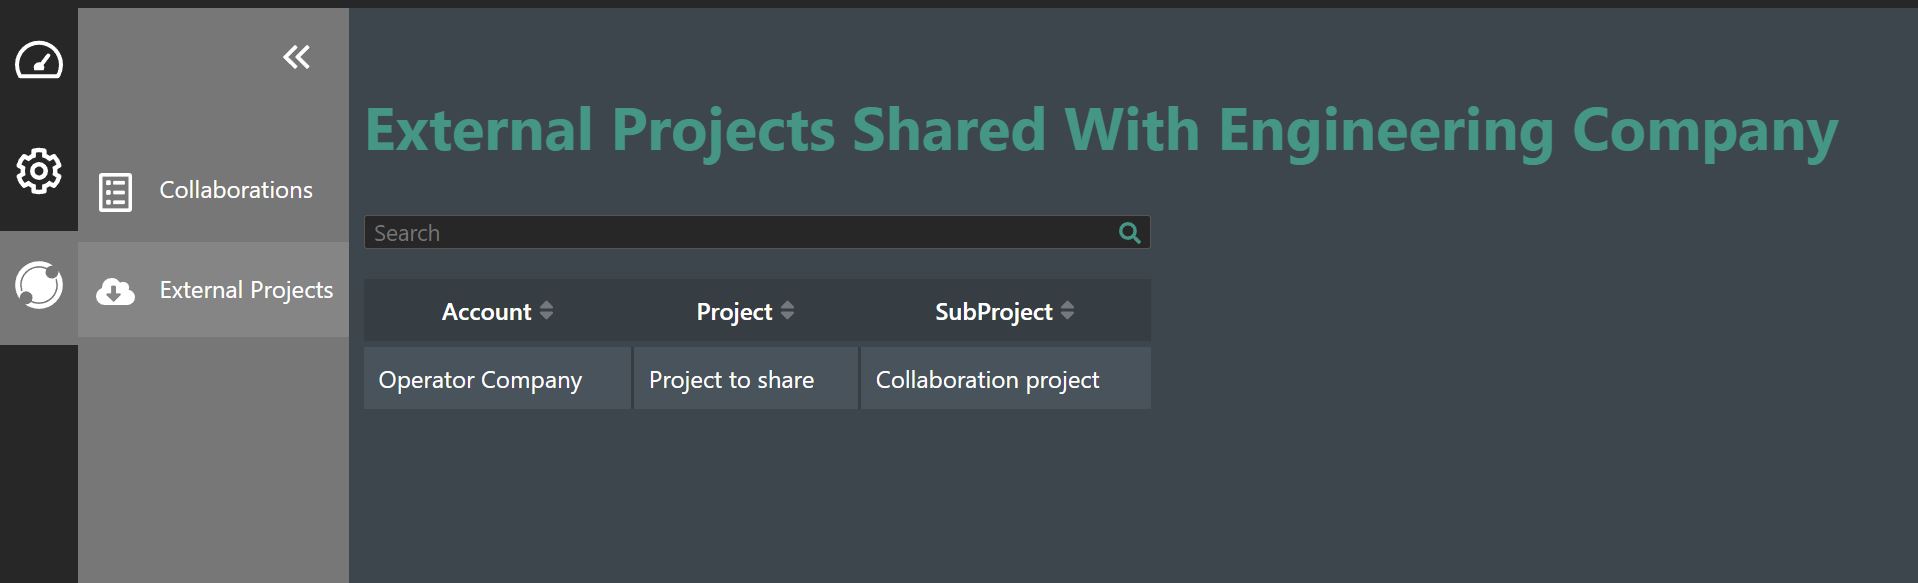
External Collaborations
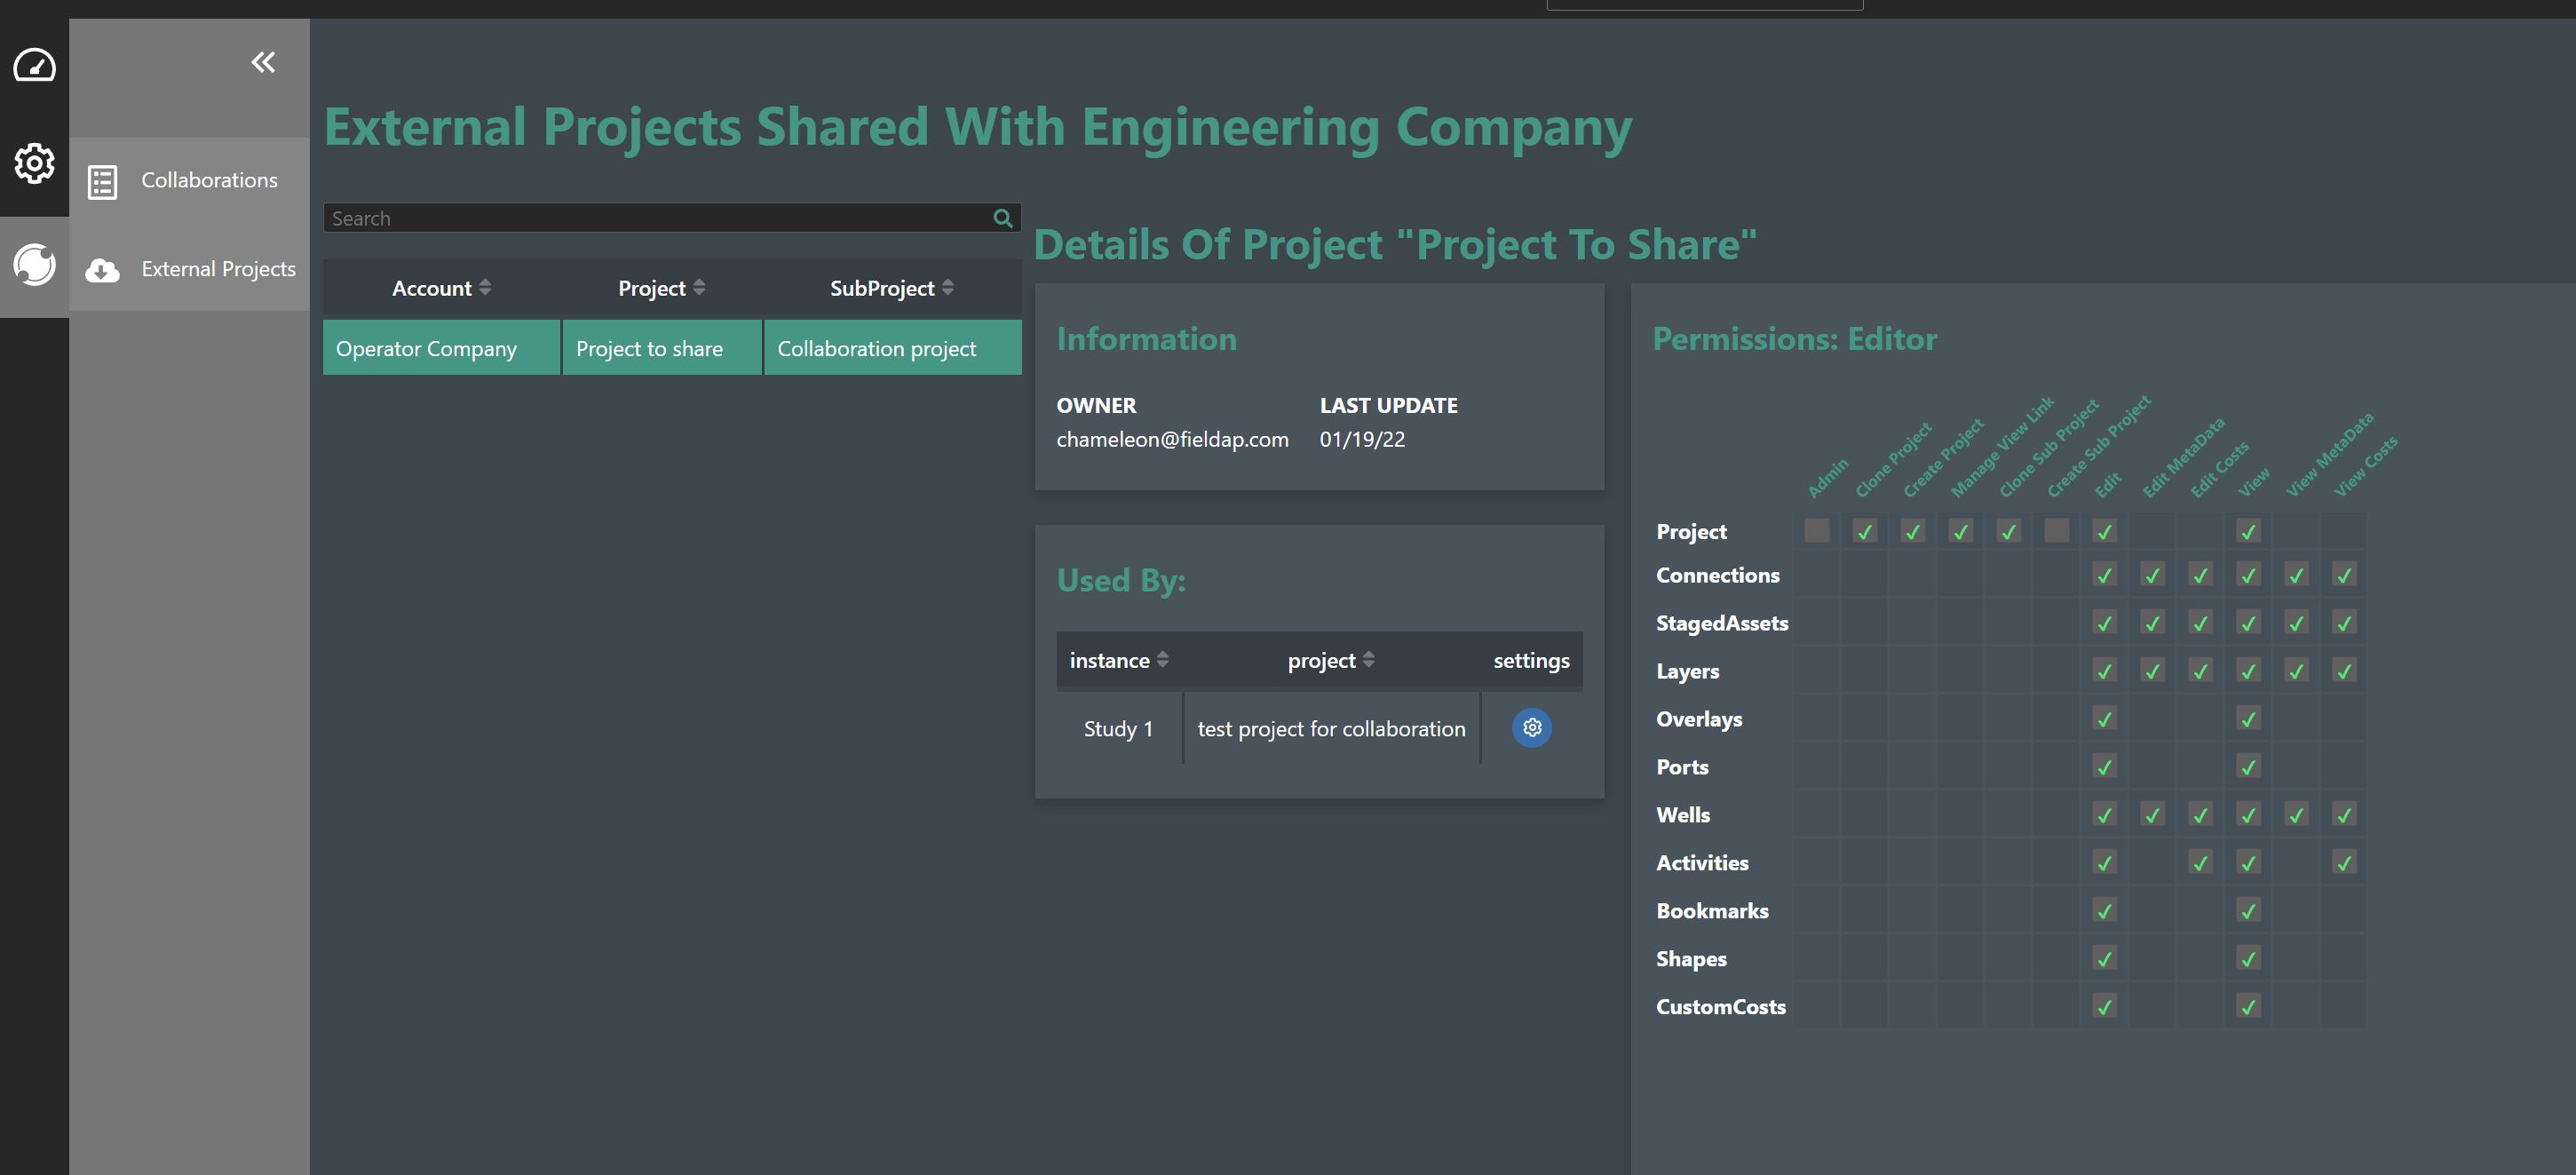
Once you have accepted the invite you can select the External Projects entry and a list of the current active projects shared with you from the external tenant will appear as shown below:
By selecting a project in the list you will see the basic information on who owns the external project for your collaboration and when it was last updated. In the middle section you will see which project in your own tenant and instance that is currently linking this shared project in as a backdrop. And finally, the right hand side of the screen displays the user rights you currently have been assigned for the selected project.